Before you can put a new marine stereo in your boat, obviously you have to remove the old one first. There are several different styles of marine stereos that each have different installation procedures and therefore must be removed differently.
An Old Manual Can Help
If you happen to have the installation manual for your old stereo, that will give you a great idea of how to remove it. Just follow the installation instructions in reverse. Unfortunately, manuals are easily lost. You might be able to find an electronic version of the manual online. We have a large archive of manuals for stereo models we have sold over the last 10 years. Also, manufacturers are usually willing to email a manual to you if you contact them directly. If you can’t find your manual, the general instructions below will be helpful.
Waterproof Stereos
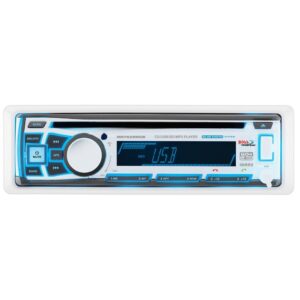
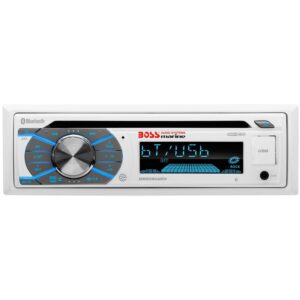
Waterproof stereos often have larger faceplates with screw covers. The screws attach the stereo to the dash. You’ll need to pop the screw covers off to get to the screws and remove them. Others have a faceplate that folds down and the screws are behind it.
Some smaller waterproof stereos aren’t attached from the front at all, but use a U bracket with one or more bolts to hold it in place from the back. To remove these types of stereos you must have rear access to the dash or panel where they are installed. The bolts go through the U bracket and screw into the back of the stereo. Unscrew the bolts and take off the bracket to loosen the stereo.
Standard DIN Stereos
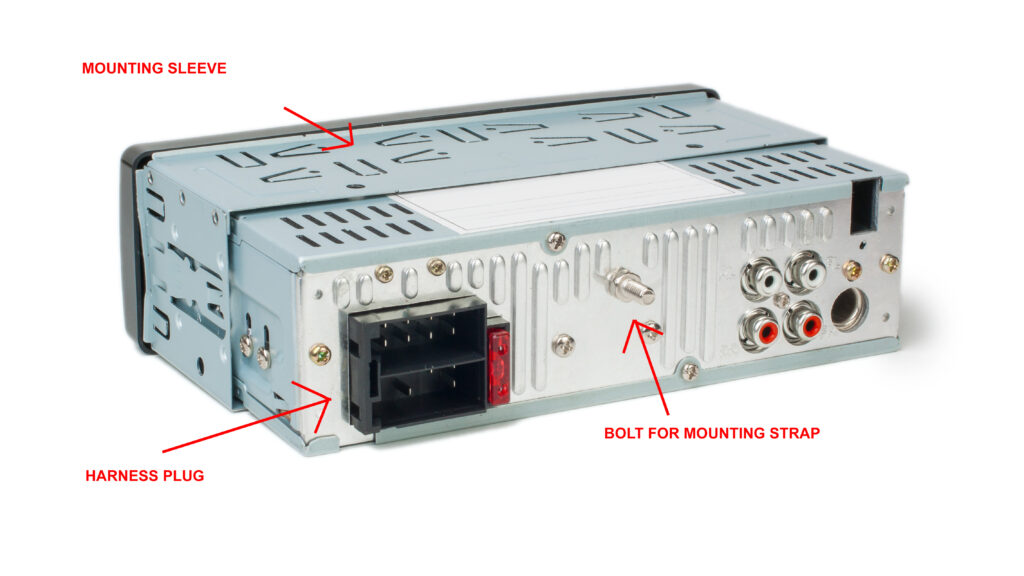
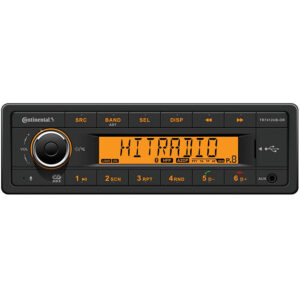
Stereos with smaller faceplates generally do not have any screws you can get to from the front of the stereo. These typically use a mounting sleeve that cradles the stereo behind the dash and holds it in place with bendable metal tabs. There is usually a plastic trim piece around the outside of the faceplate that hides the sleeve. If you apply a little pressure, the trim piece will usually pop right off so you can get to the sleeve.
Many of these types of stereos come with special metal keys that slide between the stereo and the sleeve and release the chassis so the stereo can slide out. Of course, these are lost more easily than a manual so you will often have to improvise. A narrow putty knife or something similar will usually allow you to flatten the tabs holding the stereo in the sleeve so it can slide out.
Rear Attachments
Once the stereo is loose, you may notice that it does not slide out easily. That is likely because there is a bendable metal strap attached to the back of the chassis by a nut and bolt. The purpose of the strap is to support the stereo from behind so that it doesn’t sag down behind the dash. You will need to pull with a little force to get to the point where you can remove the nut and free the chassis from the strap.
And then, of course, there are the wires. Lots and lots of them! Fortunately, all marine stereos have a wiring harness that can be plugged in and unplugged. These are usually rectangular plastic plugs. Sometimes they plug right into the back of the stereo and sometimes there is a separate plastic receptacle. Unplug the harness and you are almost there!
Depending on your model there are a few other wires that might need to be disconnected. Most stereos have some kind of AM/FM antenna wire that should be unplugged. Some other wires that may need to be unplugged include wired remote controls, USB ports, iPod plugs, satellite receivers, etc.

