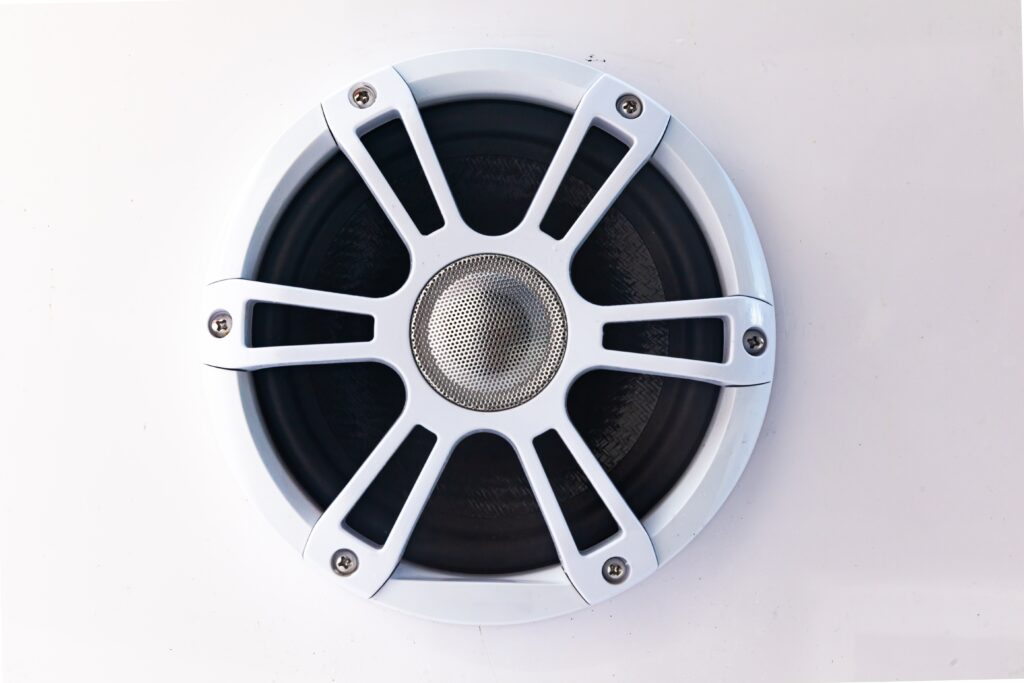
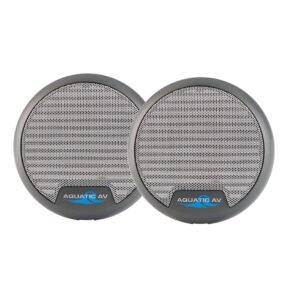
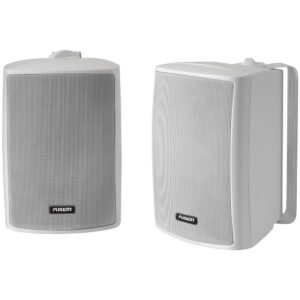
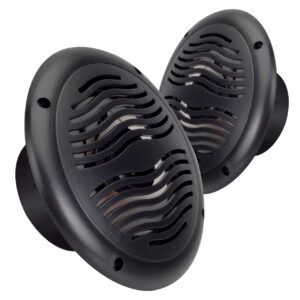
Before you can install a new marine speaker, you will need to make sure it will fit in your installation cutout hole. Keep in mind that there are no standard installation sizes so it is very important to pay attention to the installation measurements. If your speaker is too big for your existing cutout, then you may need to cut a little to enlarge the hole. If your speaker is too small for the hole, you are pretty much out of luck and you should look for a larger speaker.
Enclosure Space
Flush mount speakers need at least some enclosed, or partially enclosed airspace behind them, so keep that in mind when looking for a place to install your boat speakers. The enclosed airspace will contribute resonance to the speaker output which is necessary for good bass and midrange response. If the space behind the speaker is too wide open, it can result in the sound being weak and tinny like a telephone speaker. We sell speaker back enclosures that can help compensate in this type of situation.
Use The Right Cutting Tool
If you need to cut there are several different options. A hole saw would give you a perfectly symetrical hole, but that would only work if you were cutting a new hole because the center bit needs something to bite into. Since you already have a hole there is nothing but empty space there. A Dremel, RotoZip, or similar tool will work great for an enlargement. Those tools aren’t great at cutting perfect curves, but it doesn’t need to be exact. Your speaker grill will hide any imperfections in the hole as long as you are close.
Drill New Screw Holes
Unless you are doing an exact replacement, it is very unlikely that the old mounting screw holes will line up perfectly where your old ones did. You should plan on drilling new holes. Diagrams are nice, but there is nothing like using the speaker to mark your hole locations. Hold the speaker in place and use a pencil to mark your holes. Then drill.
Connect The Audio Wires
Before you mount the speaker in place with the screws, you will need to attach the speaker wires to the terminal tabs on the back side. These can be done with female crimp tabs or you may want to solder the end of the wire right to the terminals. Make sure that you get the positive and negative wires attached to the correct terminals. If you don’t, your speakers will be out of phase and the sound quality will suffer. You might also want to use a dab of silicone caulking to protect the terminals and glue them in place.
Seal Speakers To The Mounting Surface
Most marine speakers come with a rubber gasket to keep water from getting behind the mounting surface. If yours did not come with a gasket, it would be a good idea to run a bead of silicone around your cutout hole before you put the speaker in place to seal out any water.
Wiring For LED Speakers
Speakers with embedded LED lighting will need to have the lights wired separately for power. RGB (Red, Green, Blue) LED lights typically need 4 wires. Black is a common ground and then there is one wire for each color. For example, if you only connect black and red, the speaker lights will glow red. Connect black, blue and red for a purple glow. Connect all the wires to a light controller for dynamic colors and patterns. Connectors vary, but the one way that works every time is splicing. You can use crimp connectors or solder the wires in place.
Speaker Mounting
Once the wires are connected, you can mount the speaker in place with your screws. If your speaker has a snap on grill, putting that in place is the final step.
Bench Testing
If you decide to test the speaker without it being mounted and no enclosed airspace behind it, you should expect the sound to be tinny and weak. It is not a sign of a defective speaker. Once you get it installed in an enclosure you should notice a big improvement in sound quality.

